
Essential Soldering Tools for Model Railway Beginners
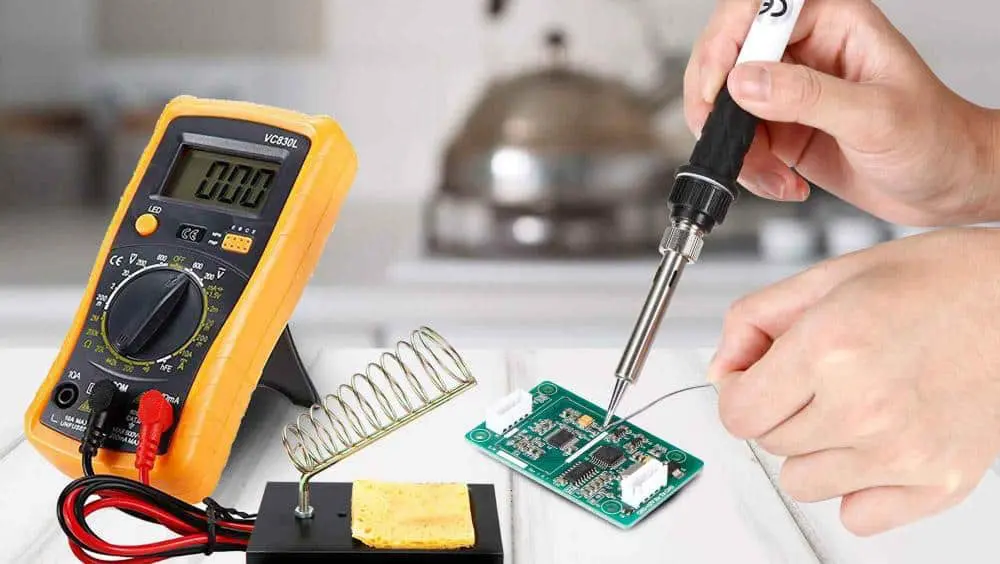
It is important to begin with the right tools in order to have a successful soldering experience. You should at least have a good quality soldering iron (preferably a temperature-controlled one because it is more accurate), and an appropriate stand to store it on when not in use. Electric soldering stations are preferable when there is need of consistent heat and simple pen-style irons are suitable in simple works. You must use rosin-core solder (usually 60/40 or 63/37 tin-lead alloy) but lead-free solder is now the norm. Have a soldering iron tip cleaner or wet sponge available to clean oxidation and to keep heat transfer. The other necessities are the flush cutters to cut off the excess leads, tweezers to place the components, solder wick or a solder sucker to clean the errors and some additional piece of flux to make the solder flow on the otherwise stubborn or oxidized joints.
Mastering Basic Soldering Techniques
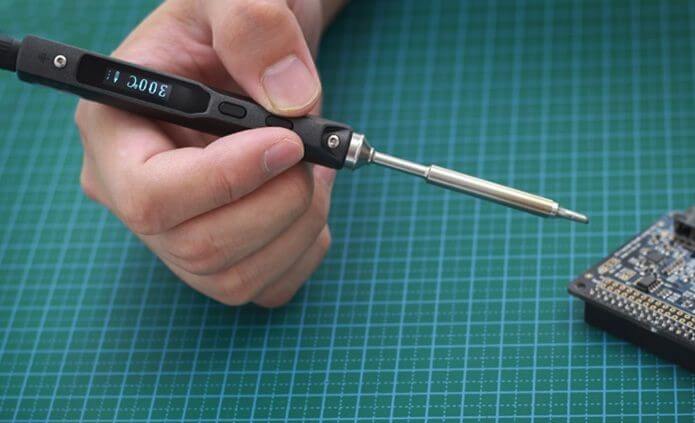
Clean, secure connections are the beginning of a strong solder joint. First, put component leads in the circuit board and slightly bend them so they do not move. Warm the pad and the lead together with the iron tip until it reaches the recommended temperature usually 350 o C to 400 o C in the case of electronics. Then apply solder on the joint (not the iron itself) so it flows freely and coats the connection with a thin shiny layer. When the joint is full, the solder should be removed, and then the iron, and the work should not be moved until the solder has cooled and hardened. Good joints are volcano-shaped, glossy and well defined.
Pro Tips for Better Soldering Results
- Select an iron tip that is appropriate to the task: fine points on small electronics, chisel tips on heavier wires.
- To pre-tin your iron, apply a small spot of solder to the tip each time you use it–it promotes heat transfer.
- Make your workspace stable- with the help of a helping hand, holders, or clamps, you can prevent unintentional movement and lessen stress.
- Practice on scrap boards first, before undertaking serious work and never work in an enclosed space which exposes you to fumes.
- To enhance wetting and form stronger joints add a little fresh flux to oxidized or awkward regions.
Avoiding Common Soldering Mistakes
- Cold Joints: When your solder joints are dull or grainy, or even have cracks, then it is most likely a cold joint due to the lack of heat. Ensure that the two surfaces are hot enough prior to solder.
- Excess Solder: Blobbing excess solder may result in unintended bridging between connections resulting in shorts. Apply the least amount necessary to dress the joint.
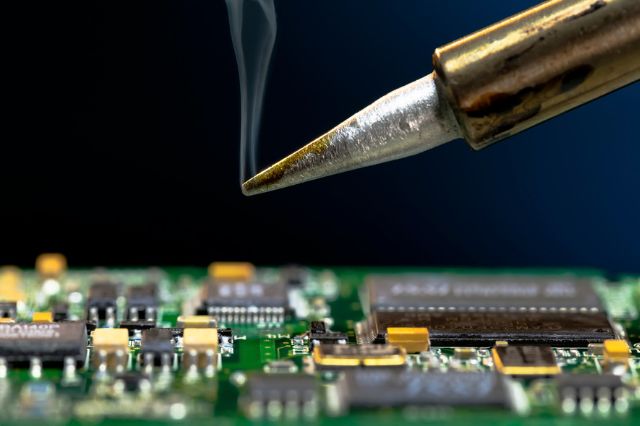
- Overheating: If the iron is left in contact for too long it can melt pads or destroy sensitive components. Minimize the contact hours and maintain a consistent, effective work process.
- Contaminated Surfaces: Dirt, oil or oxidation can destroy soldering outcomes. Before commencing, always clean components, pads and wires.
- Applying Solder to the Tip Directly: Soldering should only be done where the joint, and not the iron, has been well heated so as to have a good bond on both sides.
- Disturbing While Cooling: Do not touch components or joints until the solder is cool; this can result in a poor or unreliable joint.
Final Thoughts on Soldering Success
With a bit of care in choosing the suitable tool, technique, and pitfalls, soldering is a skill that any person can easily learn. With practice, patience, and attention to safety, you should be able to get solid, reliable electronic connections; DIY repair and hobby electronics can be both satisfying and reliable.